Welcome to My Clausing Page
Aways under construction when I get to it
Back in July 2007 I purchased a 6903 Clausing lathe. The machine
appeard to be in very good condition other than the hydraulics which is
a
common problem with these.
My key concerns were the bed, ways, headstock,
leadscrew, and such. I knew at purchase that there are some
issues with the plastic bushings in the varidrive and the green coating.
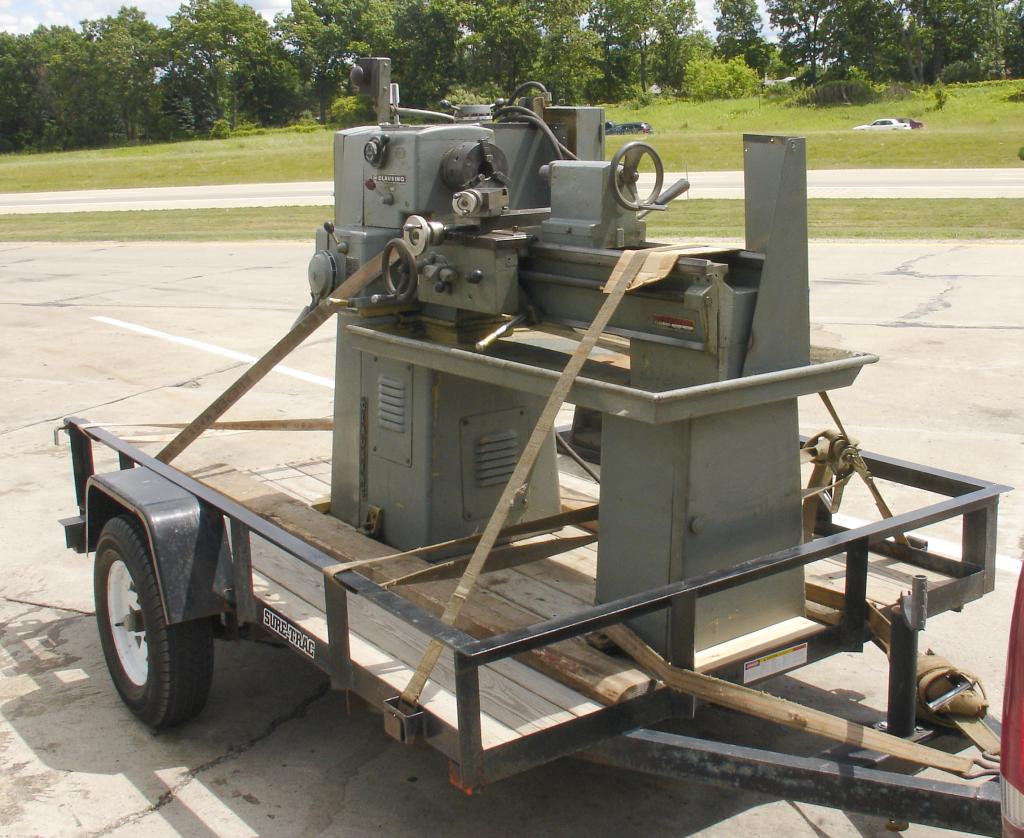
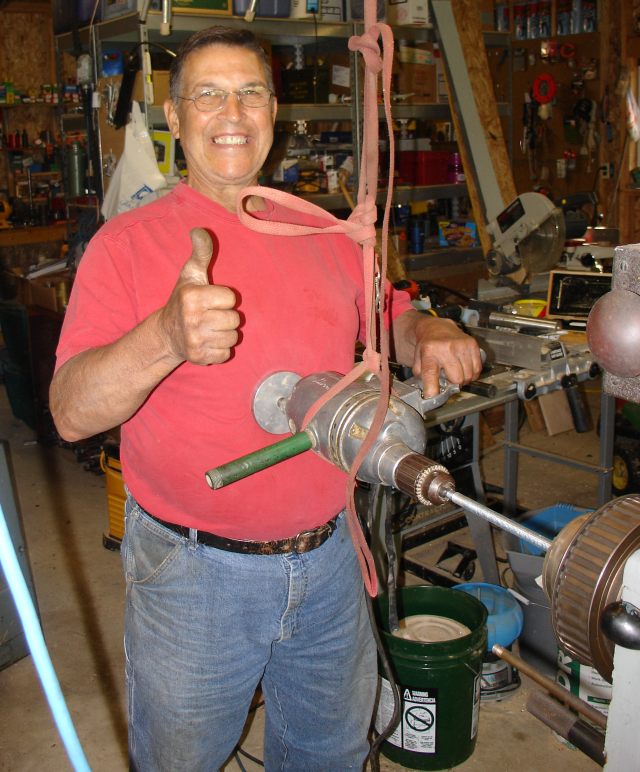
Here is my honey on it's way home. We had to butcher the drip pan
back to get the straps on. Seller pointed out putting tailstock
inside straps would be a *good idea*. We had them on
wrong side first.
It came with a 12" 4 jaw and and a real Aloris AXA post. Wish it
was a BXA though.
The trip home was uneventful, not like bringing the bridgeport home in
a winter storm but that is a story for another web page editing session.
The first order of the day when getting it home was to rewire it for
230V 3ph. I couldn't find the change taps. Eventually I
found that some GM Saginaw electrician had burried them in flex.
That isn't to code.
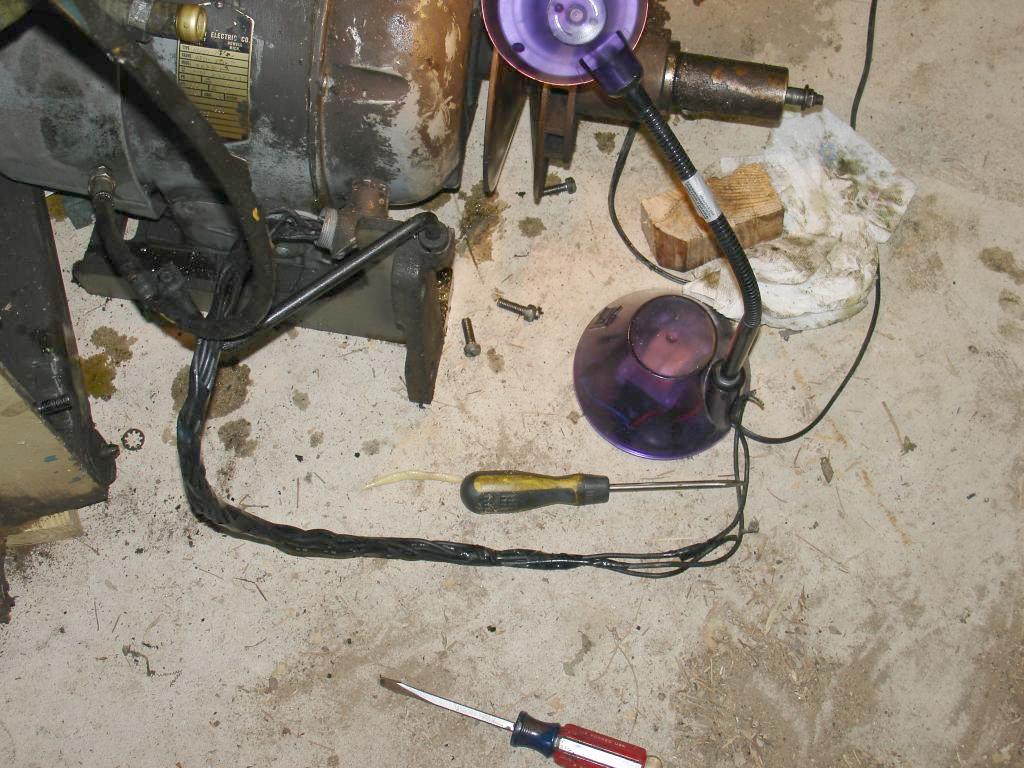
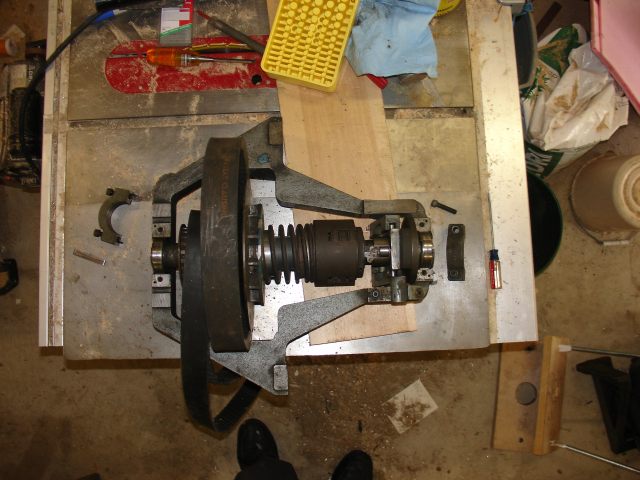
Anywho, you can see the slave cylinder looks like it has been
leaking. Motor worked fine on 230.
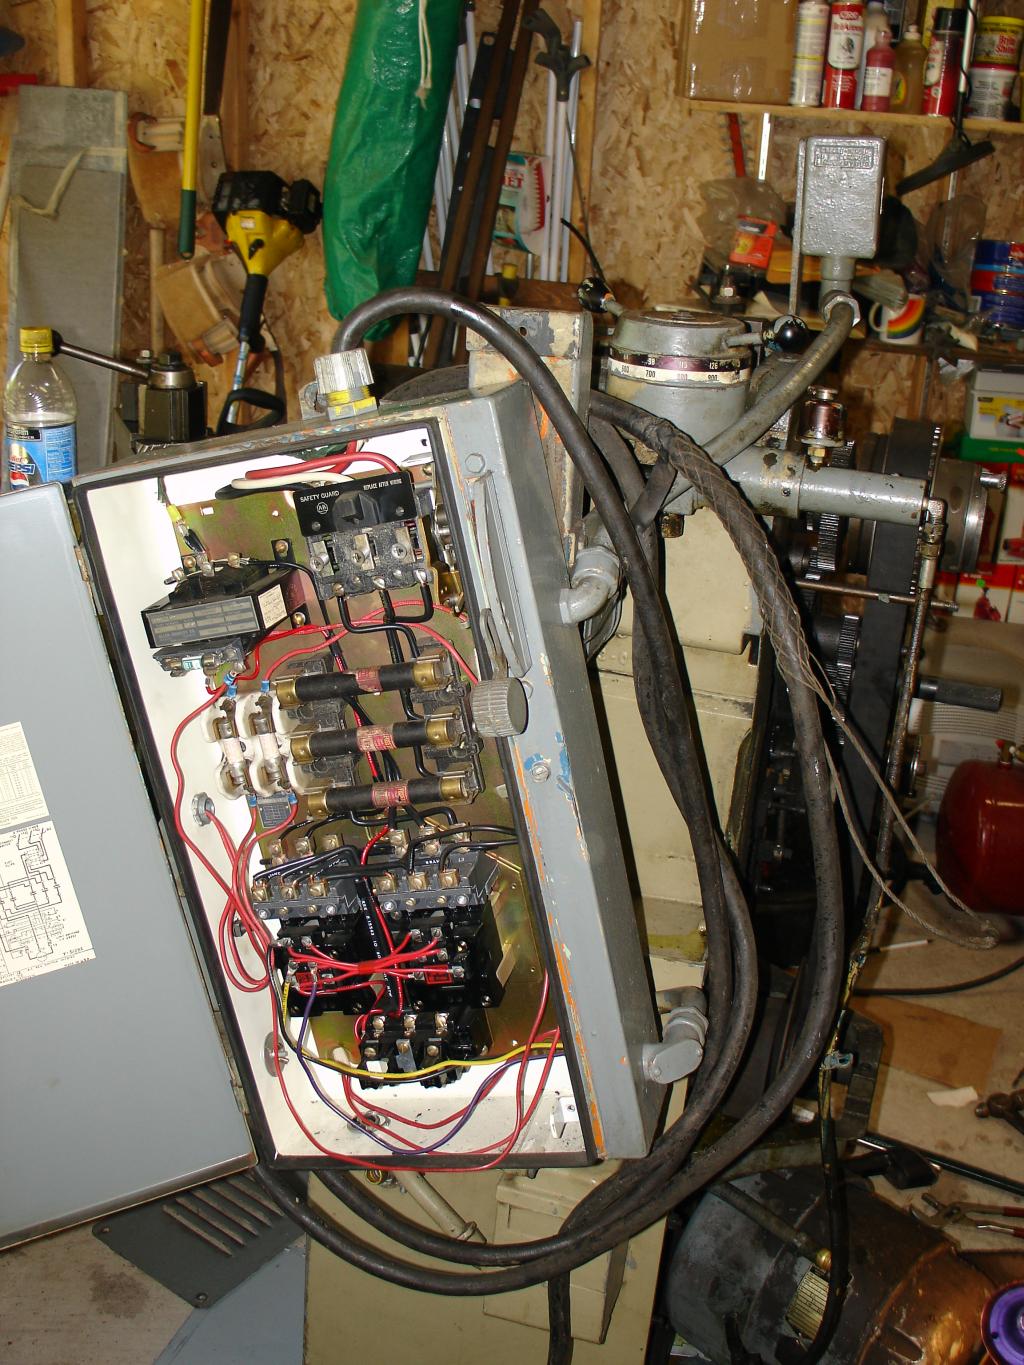
The machine must have been reworked for osha. Ever see a lathe
with an emergincy stop?
Soon to come is my attempts to fix the varidrive system. Stay
tuned..... Well, there is an ebay auction I'm waiting to end so
might as well put up more.
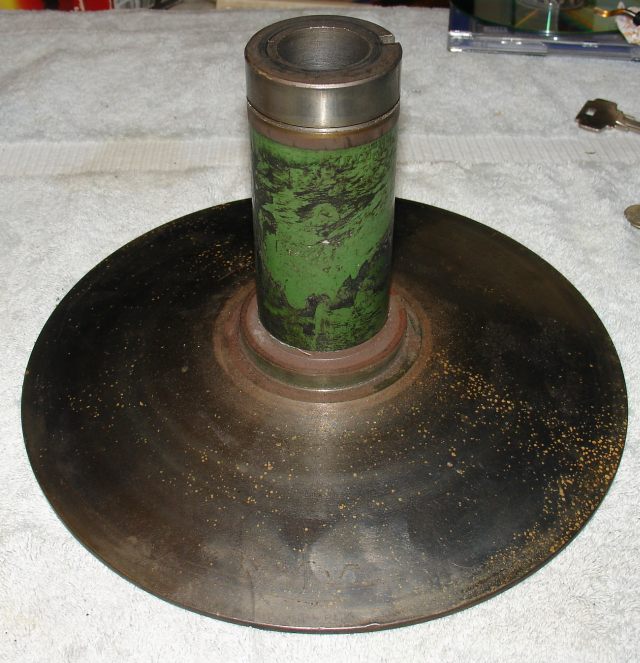
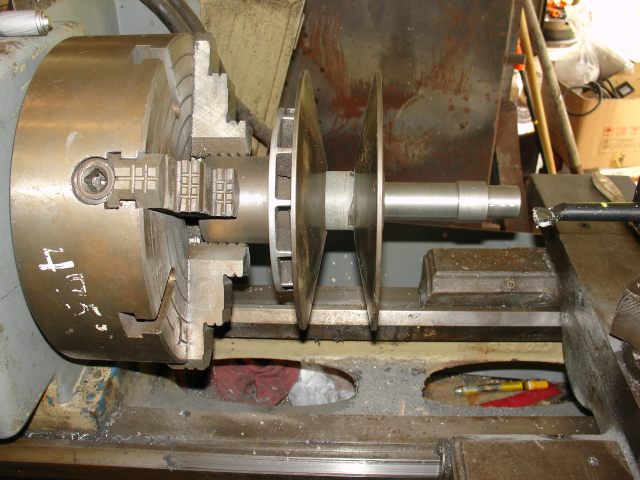
Well, after pulling it apart I see that the green coating is damaged.
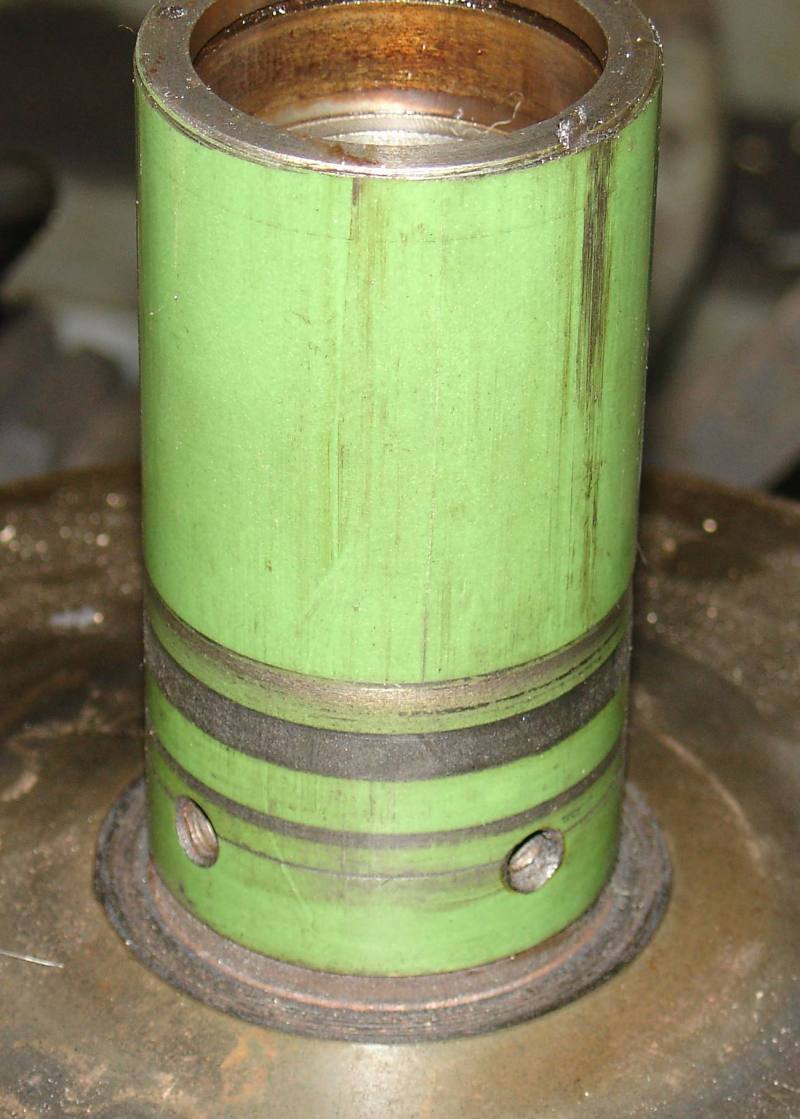
I'd be tempted to just run with it but the other pulley wasn't as
good. I'll stuff in a picture soon.
I found a crack in the driven. I may have put it there while
taking things apart to replace dry sounding bearings. I want to
fix this thing once, use it the rest of my life have something to pass
on.
Well my bud tried to fix it with OA and cast iron filler. Sorry
about
the cell phone picture taken through a welding hood.
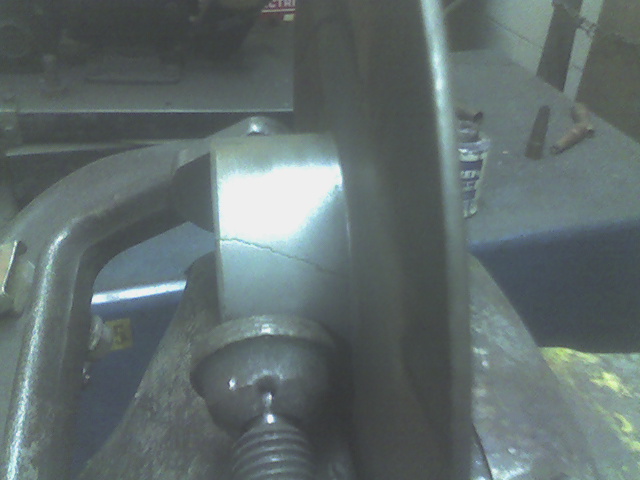
So we tried brazing and turning it down.

I didn't have a great feeling that the braze worked to enter the next
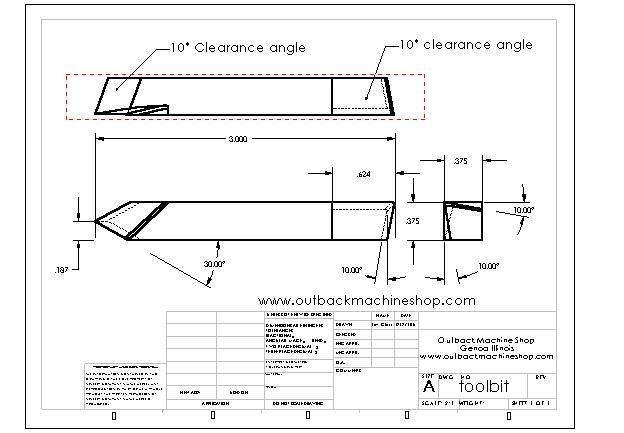
idea.... Making
a hub. This may not be current drawing, I'm working my way
along on this.
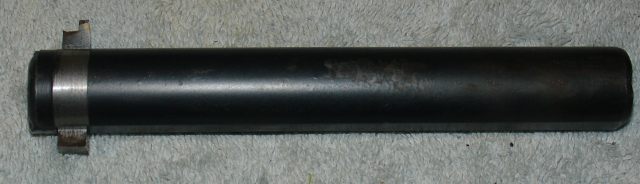
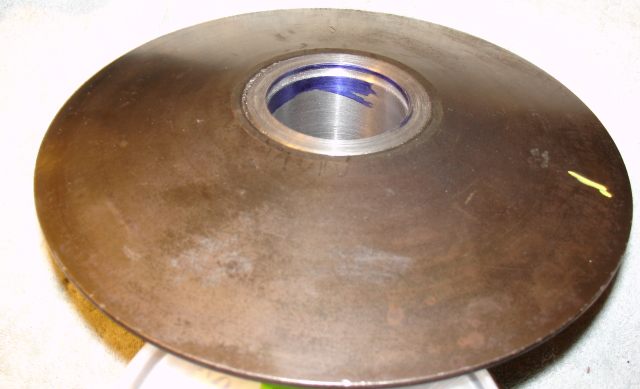
Here is the threaded hub that I show in the drawing. It is made
out of 1045 and threaded and screwed into what remains of the
sheave after I turned off the cracked portion. It is loctited
with permanent thread locker and I will drill the hub sheave periphery
for a couple dutch
pins to lock it together.
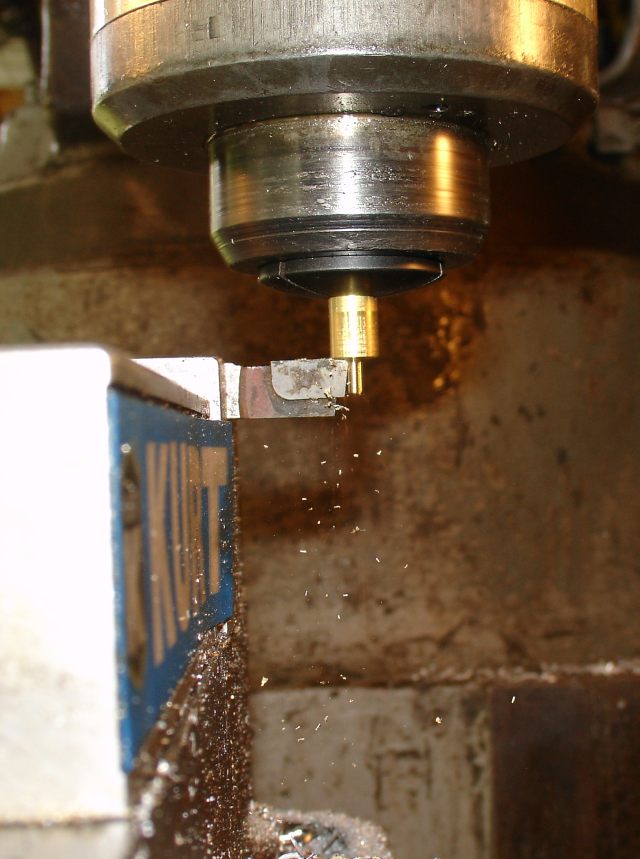
I bored this hole so that I can stick a mandrill in to true up the od
of hub so it runs true with the flange. I don't want wobble in
this thing.
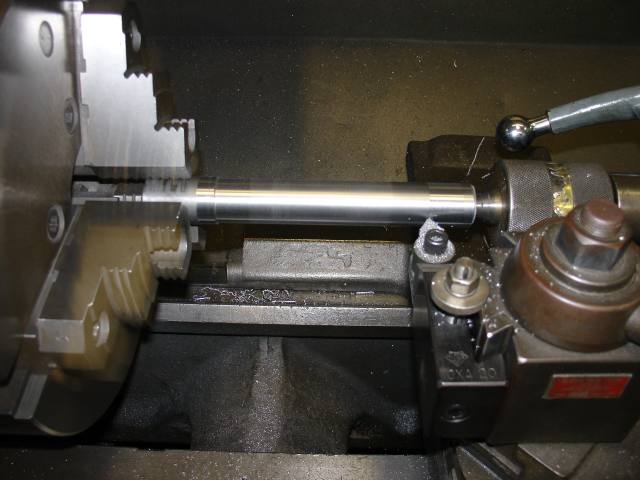
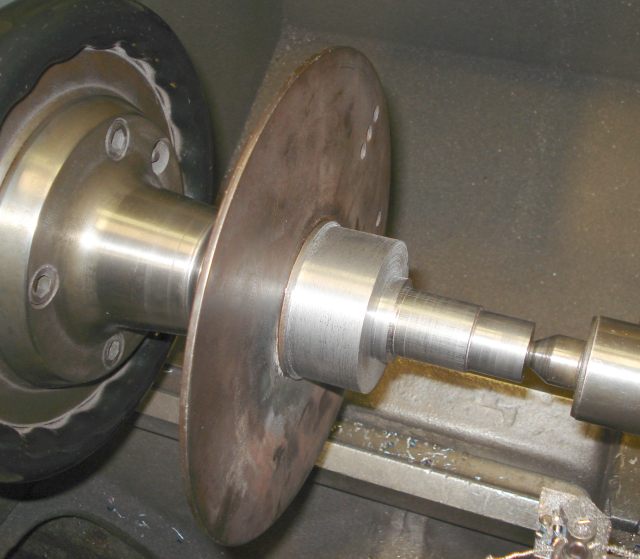
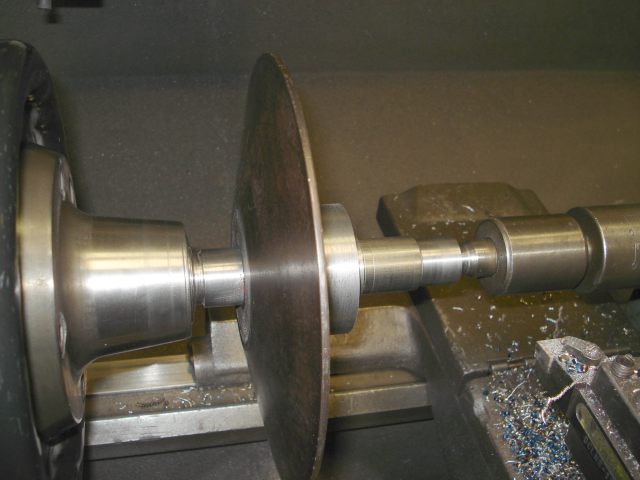
I pressed the mandrill in, held one side in a collet and supported the
other so I could machine the OD of the new hub.
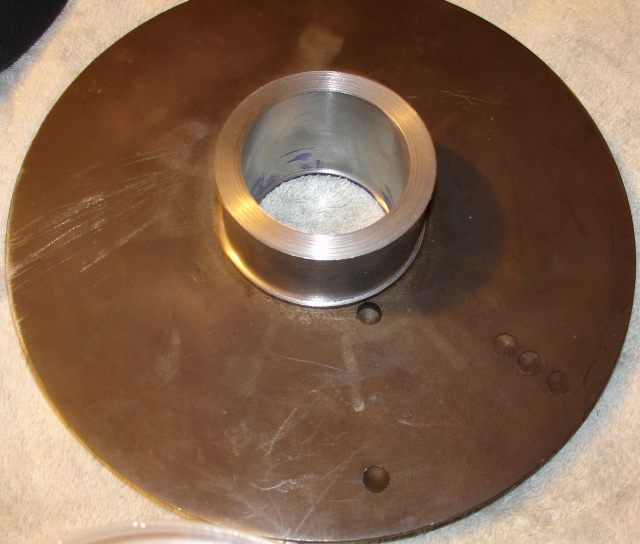
Then I pressed out the mandrill. Next operation will be to chuck
the hub and drill it with a 1 3/4" followed by boring the 1.998" hole
for the bushing.
Once I have the sheave bored out, I'll press this in. Then I need
to deal with recoating the shaft of the hub that runs in this.
So far this has been fun.
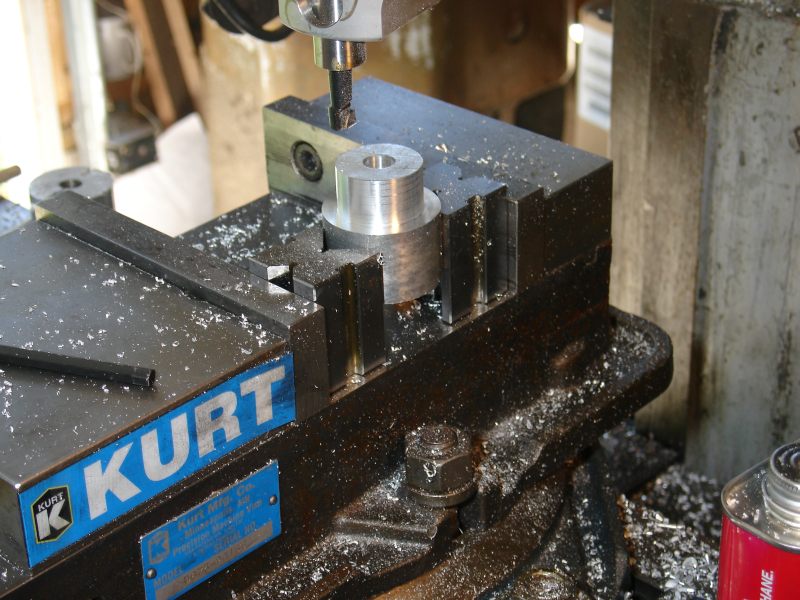
I took an end of a boring bar I cut off for a CNC application and made
a boring holder to hold my HSS grooving tool. I quickly leaned
that these
things are hard, at least RC40+. My HSS end mill started sparking
rather quick :( .
A bit of time with an O/A torch had the bar stub glowing red and
afterwards it was easy to machine.
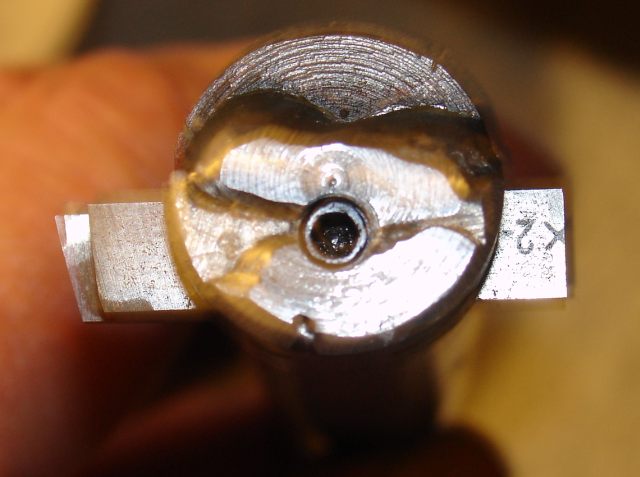
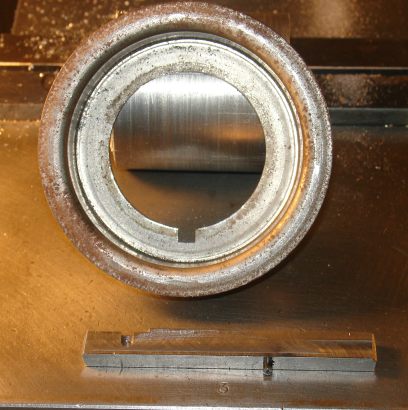
After annealing the boring bar stub, I cut a groove and then welded in
a piece of key stock. Tapped for a set screw and slid in a piece
of HSS.
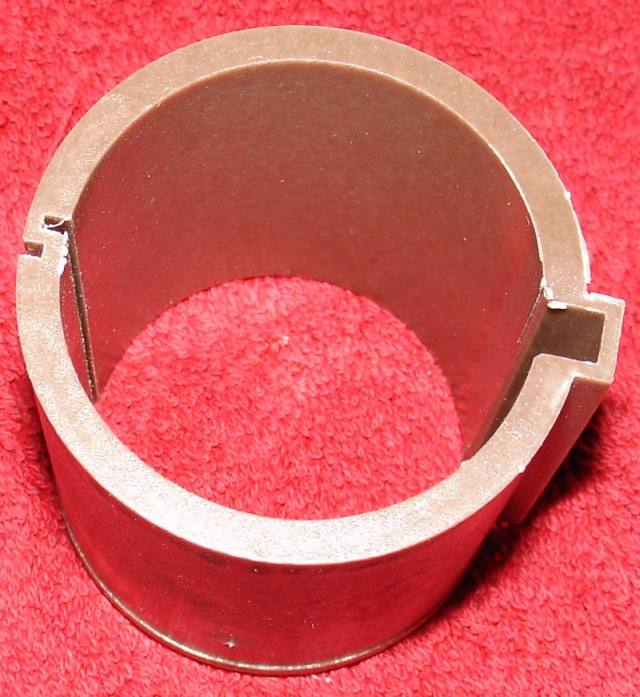
I'll be using this again with a piece of HSS properly ground to machine
the delrin af bushings.
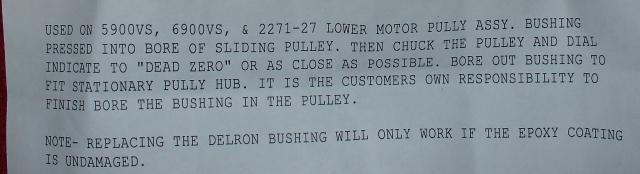
A picture for reference shamelessly stolen from this link Practical
Machinist (General)
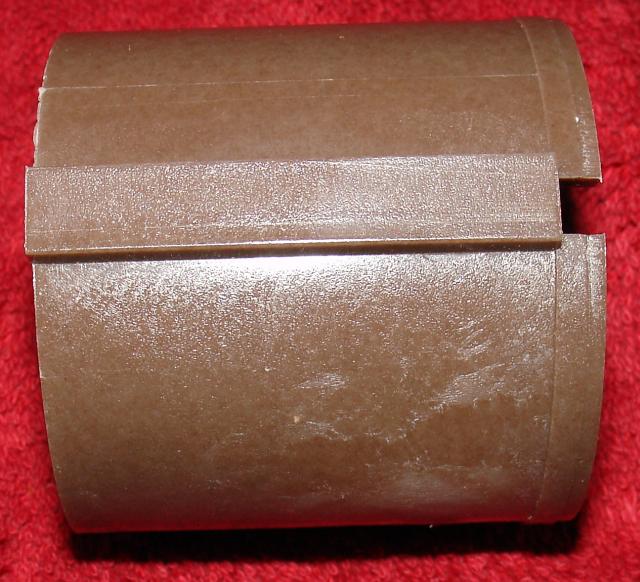
I need to rework the fan that fits over the hub to clear my
flange. The shafting is 2.75" that I used so I need a relief to
clear the shoulder resting against shive
pictured above.
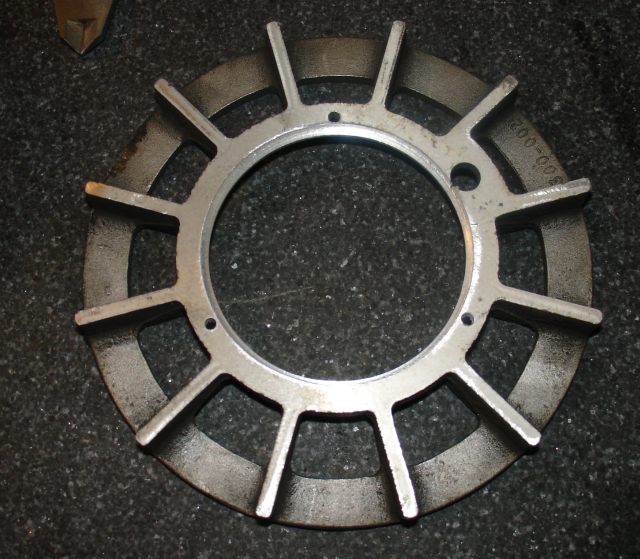
Still need to put the dutch pins to fix this since
loctite red is all that is holding.
I also have to sharpen a broach since the one I have access to has
rounded teeth. Always another hurdle to jump.
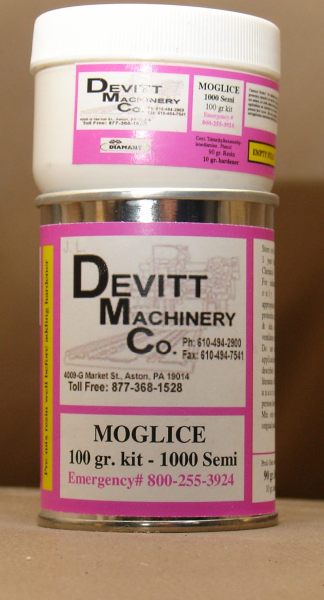
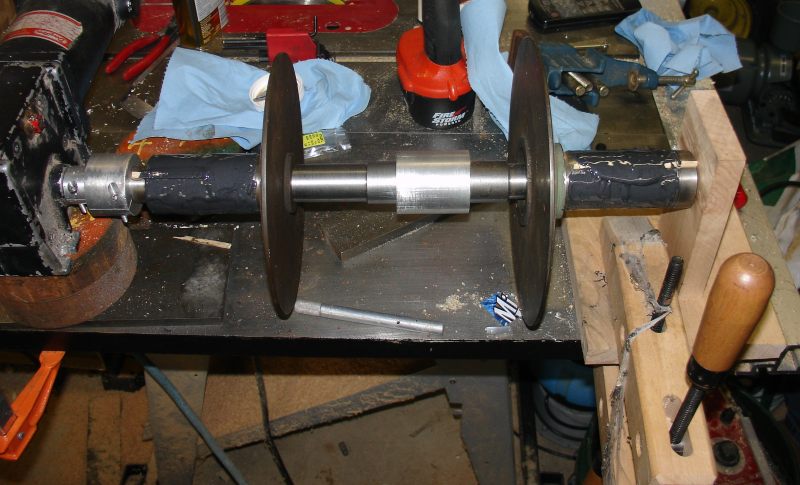
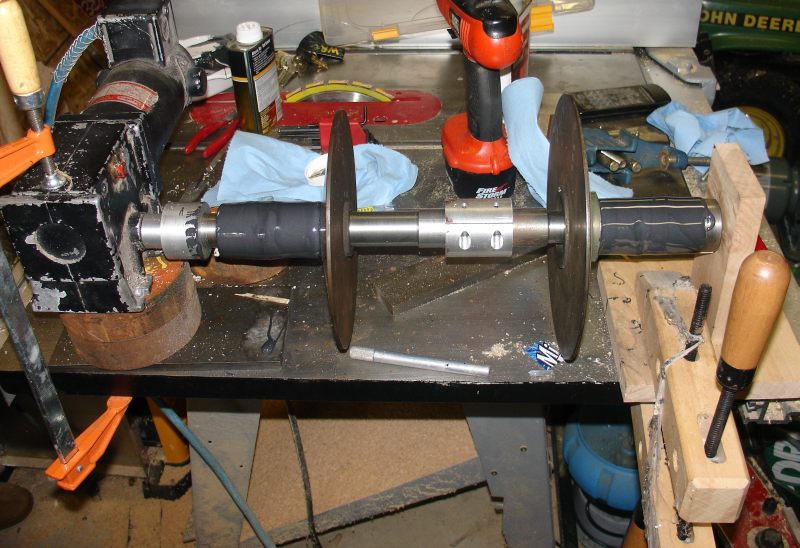
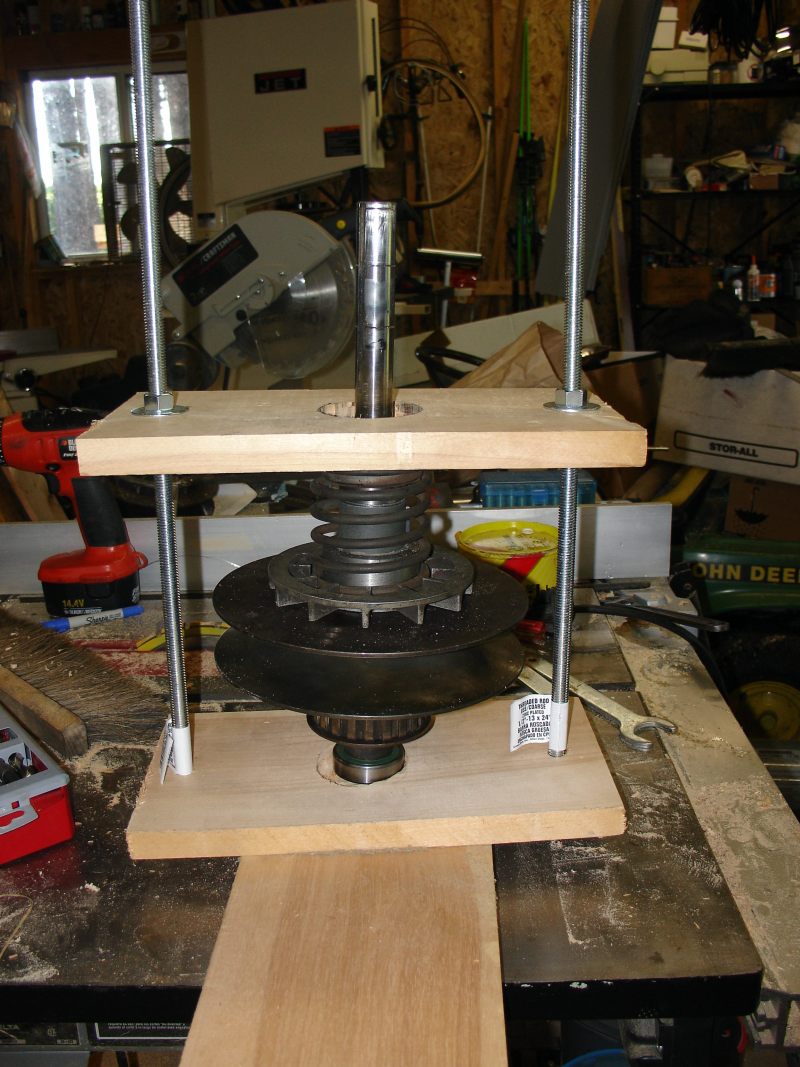
For the next step in the project I'll be roughing up the sheaves with
shafts that go into these bushings and recoating with Moglice
http://www.moglice.com/
I'm a bit concerned though since the green coating I'm replacing is
only a few thousandths deep and moglice indicates I should
be applying a 1/16" coating.
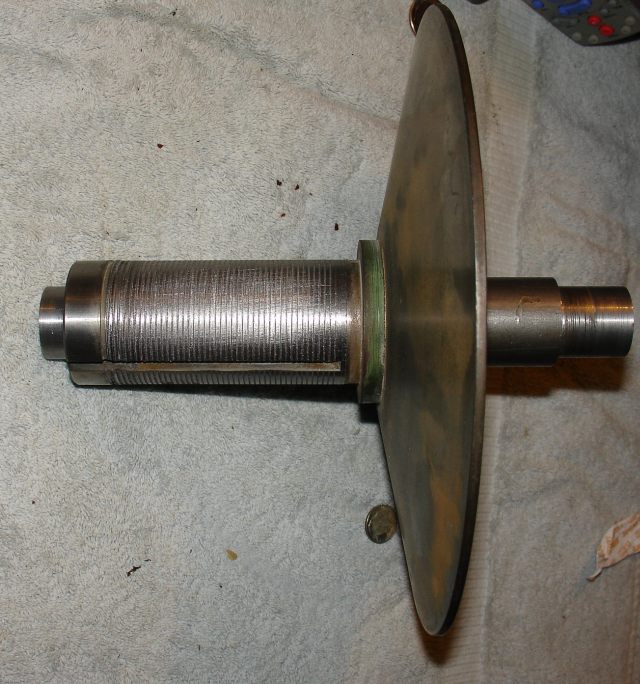
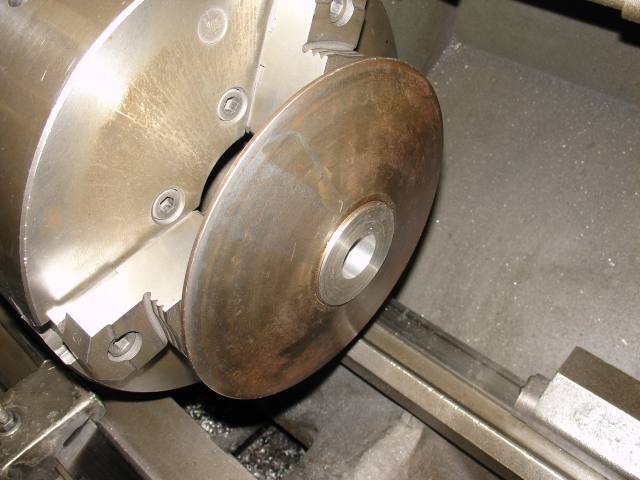
I took the coating off with a coarse feed followed by running a
threading tool across to give some biting surface for the Moglice.
I have the other pulley mounted on a mandrill and just need to prep the
surface. Getting closer
4/21/08
I made a coupling on a lathe to connect each sheve to each other.
That worked out fine. Then I made a coupler on my mill. Not
so good. Didn't have knee locked while boring one side so
the stack wobbles. Actually, it was a comedy of errors.
Last year my longest smallest diameter boring bar along with the had
fell on the floor and broke the carbide off. So I didnt have a
bar that would alow me to bore the 0.500 dia for motor side and the
1.123" for the sheave side with out removing the work piece from
the mill vise.. The other problem is that I made the coupling
holding each sheave together out of 6061 and that closed up when I slit
it. The coupler at the motor is made out of 2xxx series
aluminum. It didn't close up when I slit it. Of course, I
allowed for closing up which made the holes too big. There are a
lot of slits in this to help close up over each shaft.
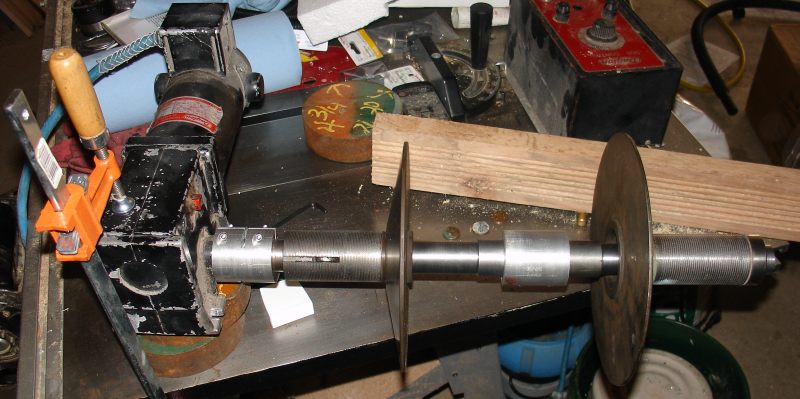
This will be a good enough setup to spin the part sheaves until the
moglice sets up.
5/10/08
It couldn't have been the knee, the machine isn't that whooped.
So I made another coupler using a reamer for the .500 side. Some
how a .506 reamer my uncle told me was .500 made a .521 hole. So
much for that.
5/24/08
Nice day today, shirt sleeve weather. Made a coupler that didn't
wobble like a drunk sailor. I was told that the moglice will take
4 hrs to cure and I didn't want a wobbly spring of pieces working
loose.
So I tried again.
I bored the big diameter then I found that my smallest telescope gage
was .503 Now what. I don't want to turn the part over to
measure with calipers.. Hey, new endmill, bet is is very close to
.500 so I used it to bore the 15/32 hole I had drilled. Problem
solved.
Then I needed to take off a bit of material on .500 side to make it
easer to squeeze it.
This string of stuff spins truer. I'll support the end with a
wood block with a vee cut in it.

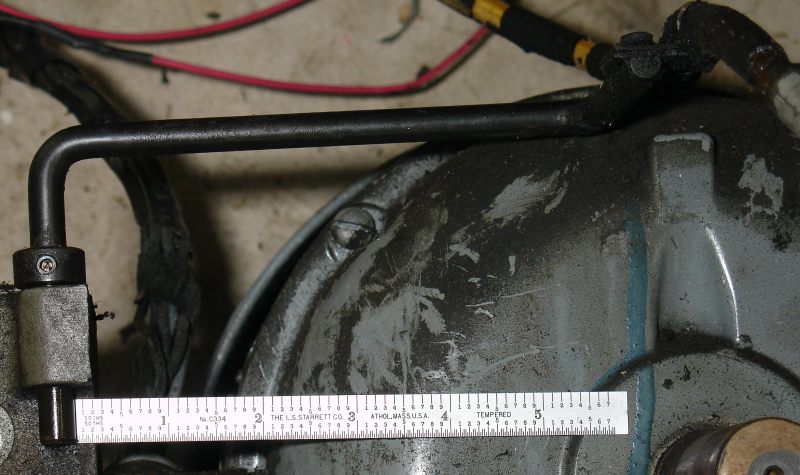
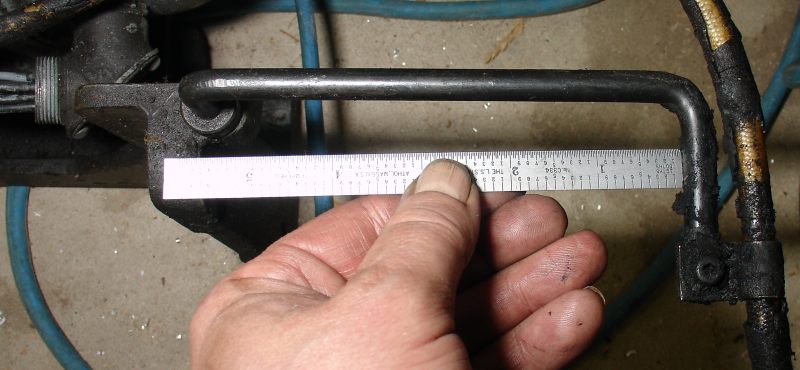
Someone asked for dimensions of the hose hanger since was missing on
his lathe.
Dewitt seems to have the US market cornered on selling Moglice.
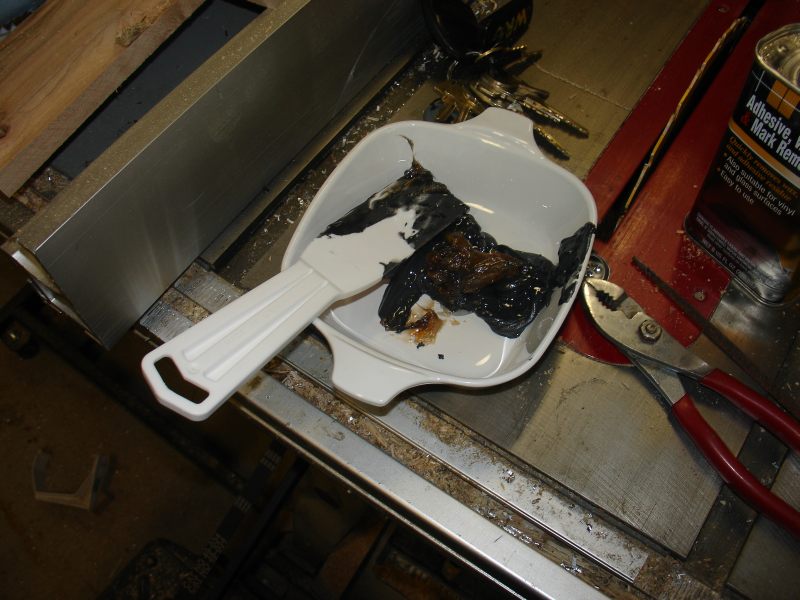
Well today was a nice day, no work or family obligations to deal
with. So I mixed up the Moglice. Don't worry, I'm not
married so I won't get
grief for ruining a dish. The resin has a strong odor of ammonia
when I opened it.
So I rigged up the sheaves. Plugged the keyways with balsa wood.
I compressed the wood in a vise so it would spring back and grip the
slots.
Waxed set screws are in the
I was pressing it in, uncle would turn on the drive to index the shaft
so I could rub in more. Stuff likes to slump.
I turned the speed up a bit and the coating started to level itself out.
Video of
sheaves spinning 3.2 MB
I'm going to let this stuff cure for a few days before turning it down
to 1.750".
The Day I turn the sheaves. 7/4/2008
The first thing I notice is that my feed dials don't have lock
screws. A proper SHCS doesn't lock the shaft so I end up
determing a brass plug is needed.
Lathe has a part chucked, better use the bridgeport.
Well that works out okay. Back to the work at hand.
Here is my Uncle dialing in the first sheave. I would have got it
but he has done this way more times than me.
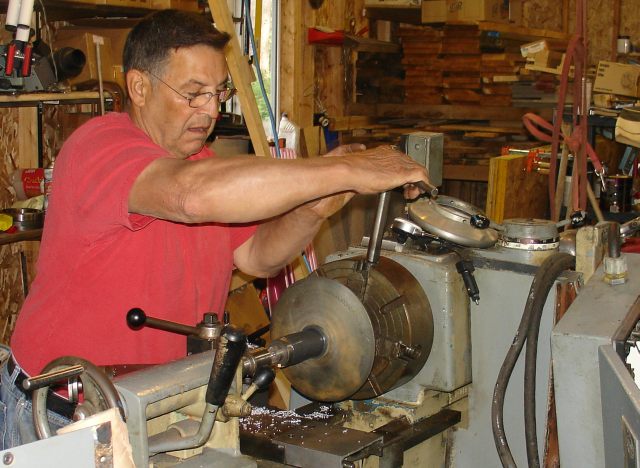
He is holding a double ended chuck key. My 3 jaw has
a different sized square hole..
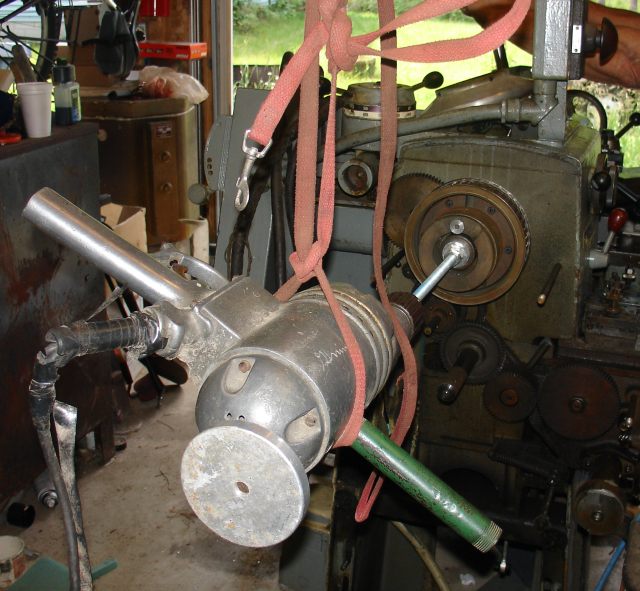
This is what I made to drive the spindle since the varidrive
system is being repaired. Automotive soft plug, aluminum guide
outside bored on my bp.

The Engine behind the machine.
The view of what is driving it.
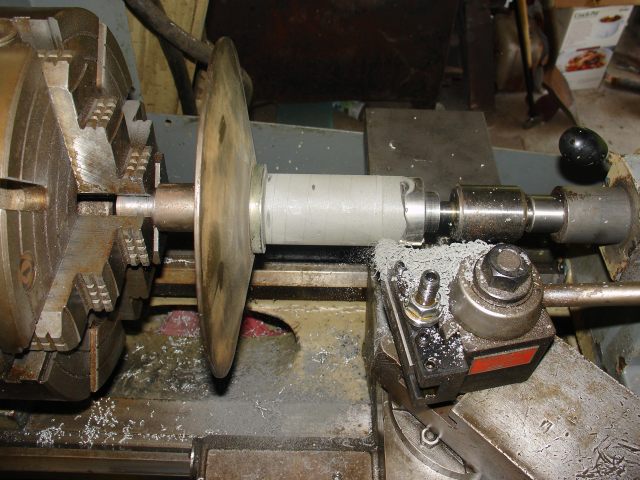
Turning the Moglice coated shaft
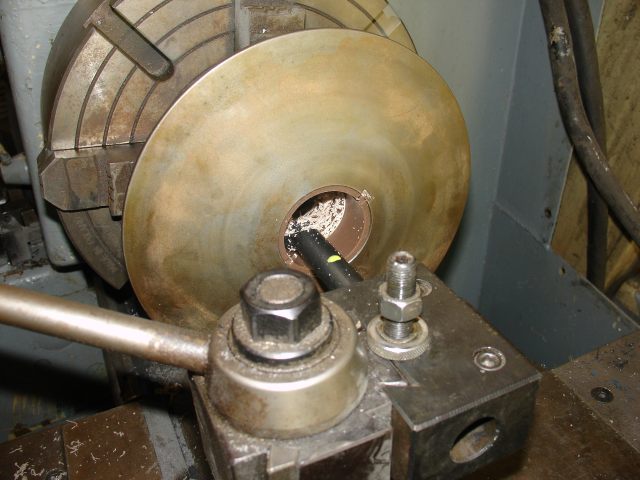
Boring the delrin af bushings.
At the far end if you count a ding 0.0015, closer to a thou if you
average it out. Hard to believe.
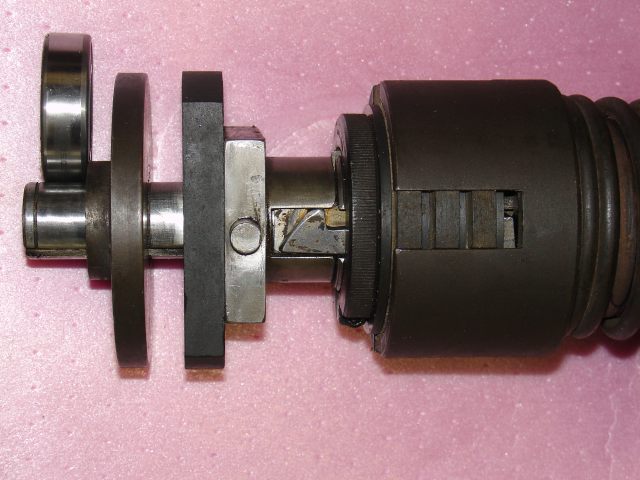
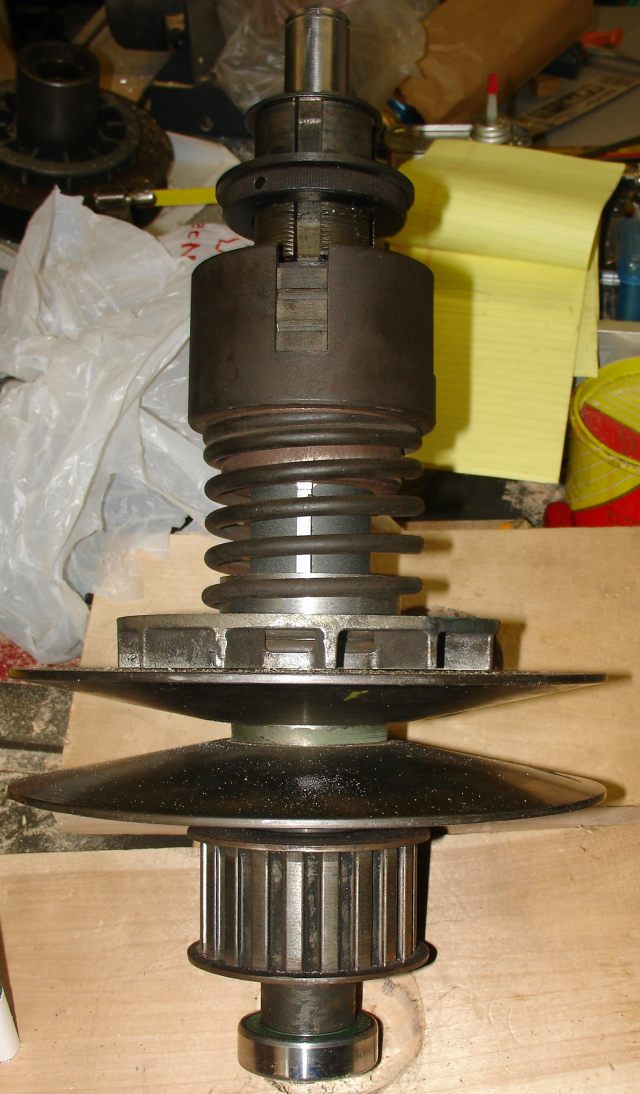
Finally, I'm putting it back together.

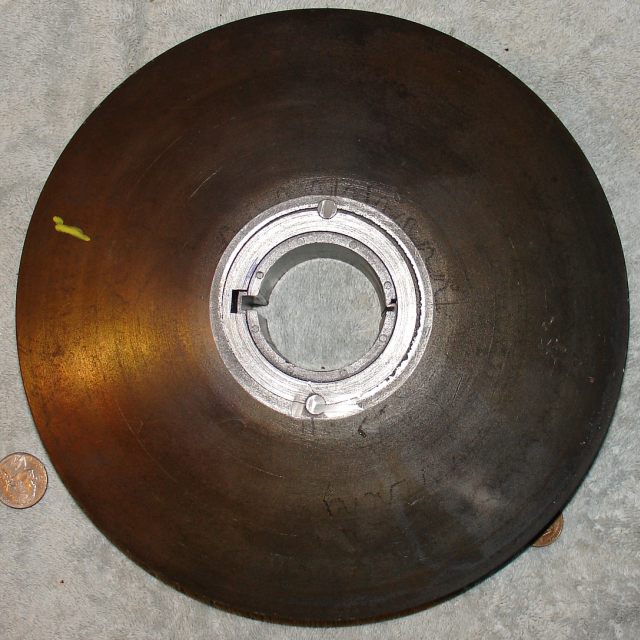
This is a key in the driven varidrive. I was told that this is
the old style and was replaced.
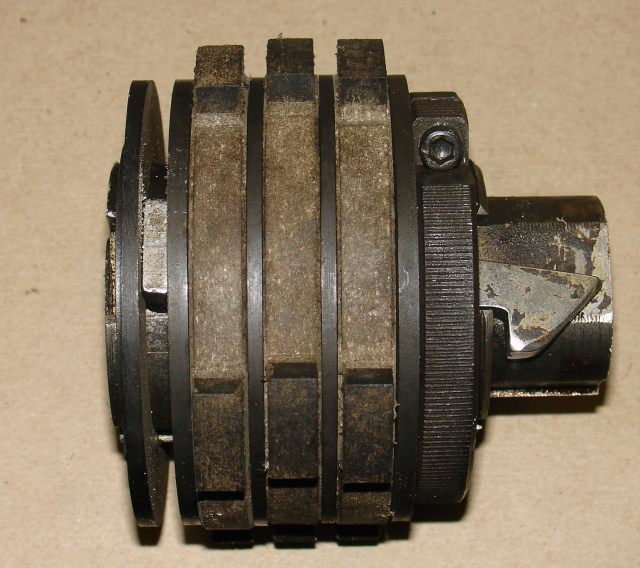
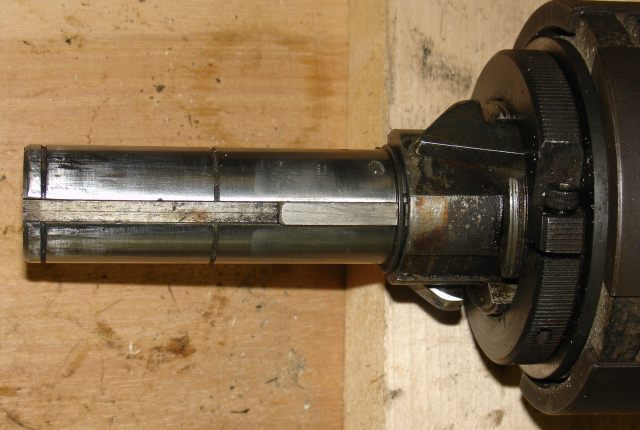
This is how that part goes together.
If you have one of these you see what the mods were. Longer key,
notch in spring retainer and clearance for retaining clip.
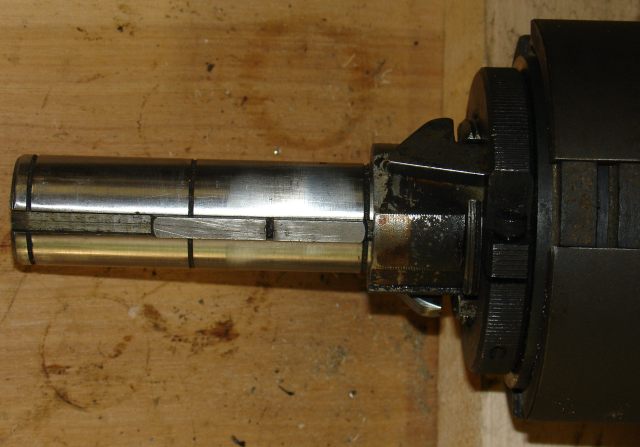
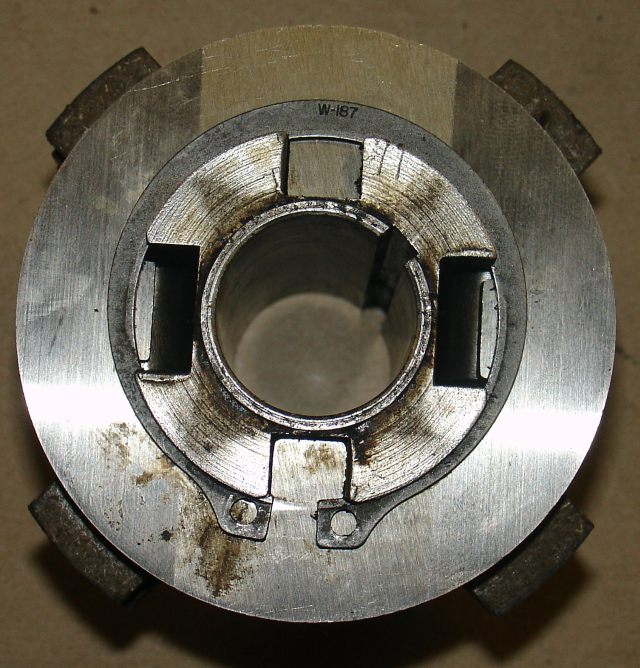
Wondered what this piece was. After a year, you forget.
Hope this helps someone.
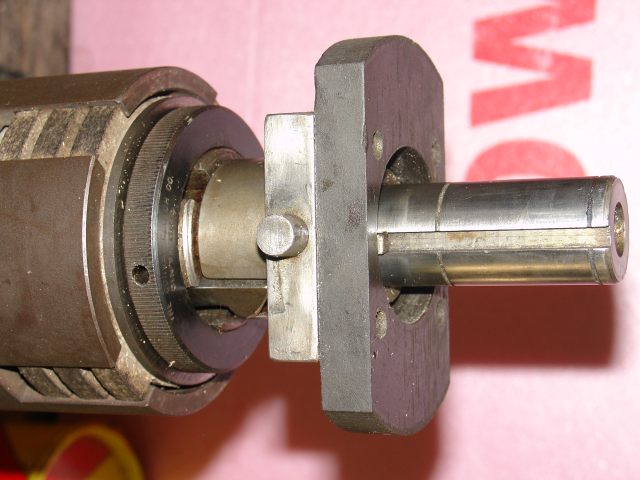
Here is another piece installed.
Just another picture.
I am getting so close....
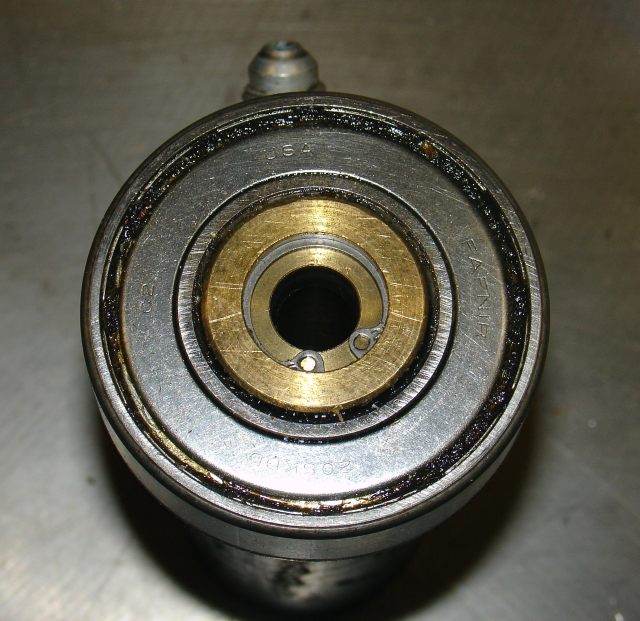
Slave cylinder pictures.
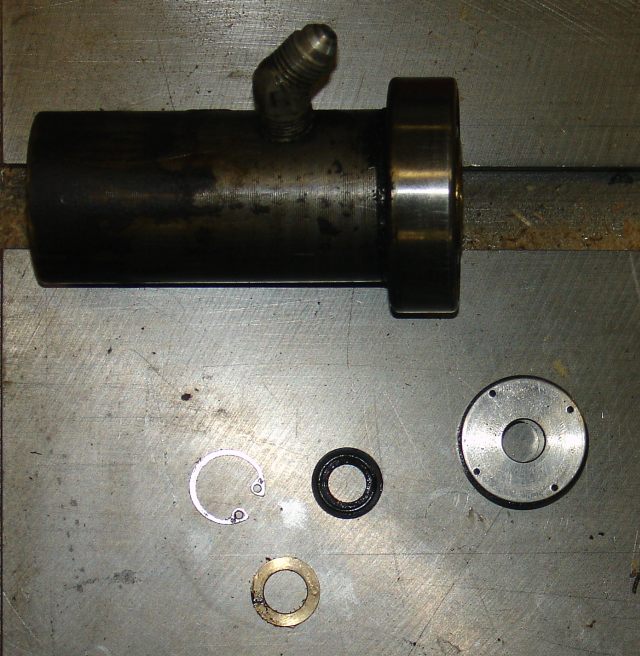
The saga continues.... If you like old iron, you better like
restoring it.